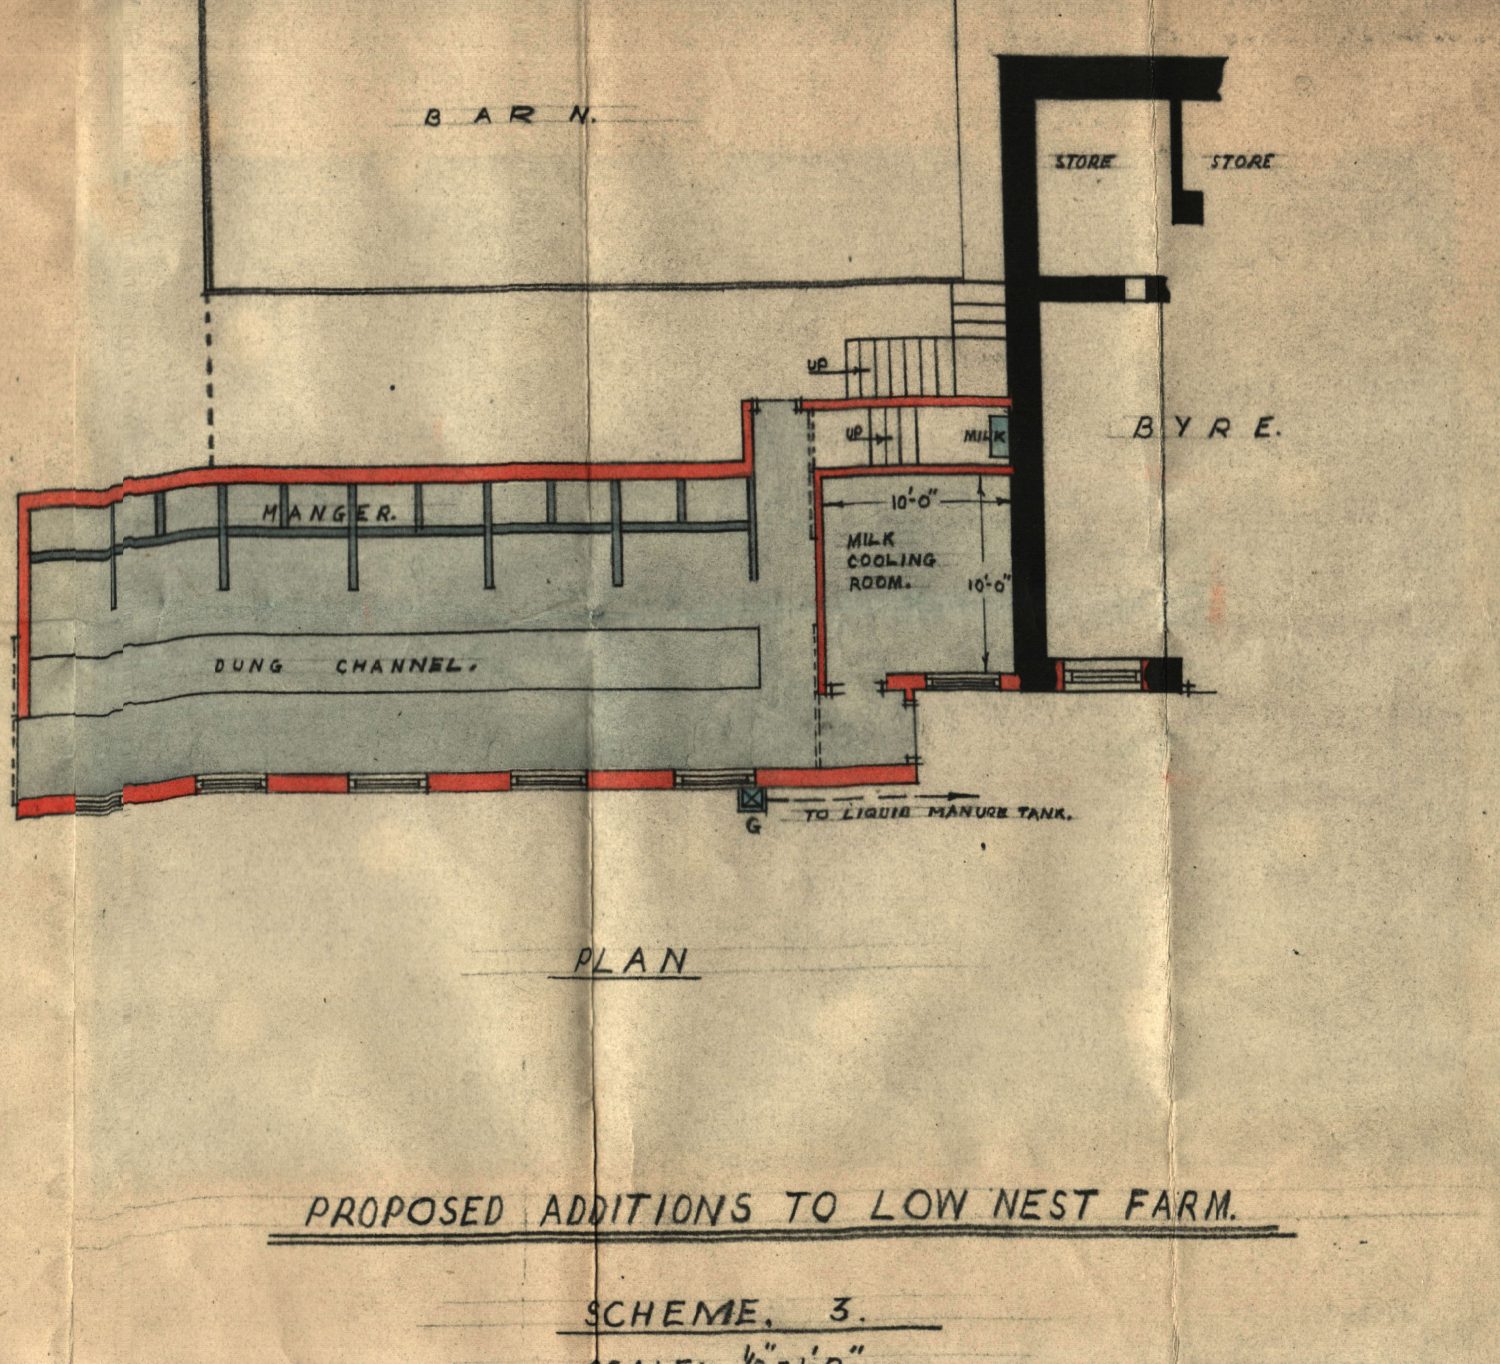
I’ve milked many a cow in those two studios.
Little known fact – should the need arise you could fit 2 cows side by side in the bathrooms with room between to get in to milk them.
It’s true. The old ‘Byre’ (posh name milking parlour) was divided in two to make the 2 studios. Each half was 3 stalls wide, each stall held 2 cows. Each bathroom is the same dimensions of one stall.
The Old Man of Coniston is a real special mountain. It’s easy to navigate and riddled with slate mining ruins to explore.
Distance: 12km
Time: 5 hours
Activity Level: Strenuous
Navigation Level: Medium
Path condition: Good, some loose slate then steps followed by more open fell land.
Stage 1 Park at Walna Scar car park. Many say it’s cheating as it several hundred metres above Coniston. However I’m often lacking in time and it save at least an hour.
But from the car park head along the wide level path for about a a Kilometre. You can then hang a left where the main footpath joins. The path is still easy to follow, but you start to really climb. You also start to get in amongst the old slate mines. It’s a perfect excuse to take a breather and explore!
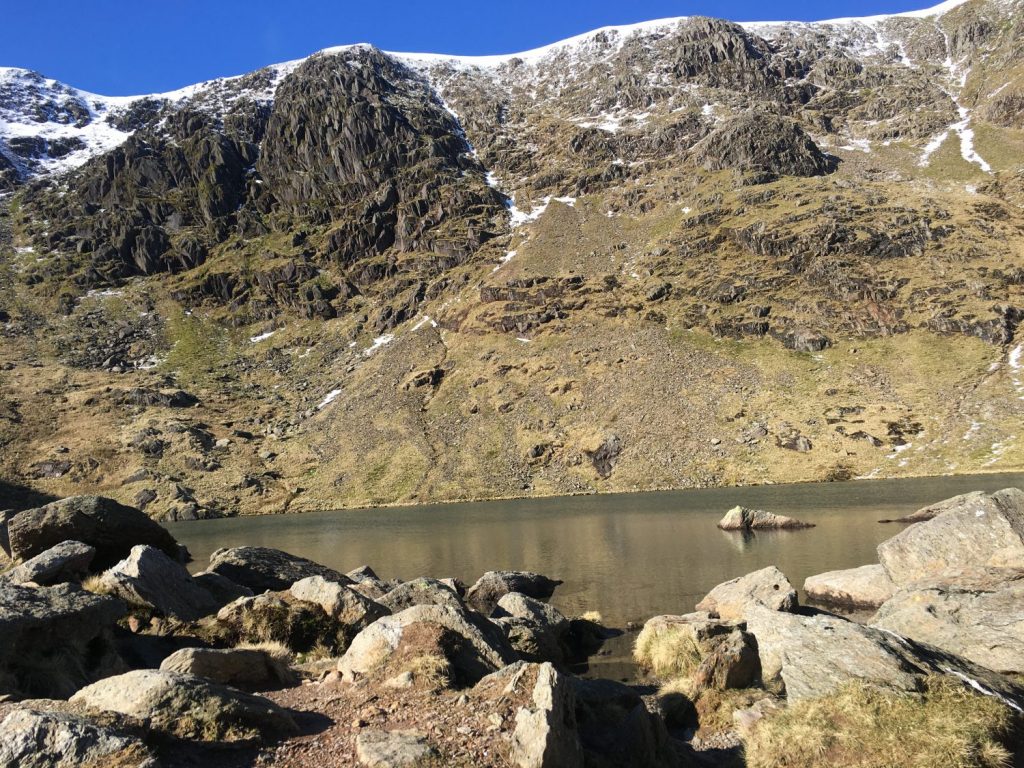
Carry on for another 20 to 30 minutes over an area of loose slate till you reach Lows Water. Another great spot, and to be honest if some members of the group don’t want to go to the top it’s a great place to relax with a flask of tea and a book.
Stage 2
Now it’s the big push to the top. It might only take 45 minutes, but it’s a good work out, primarily on steps cut up the side of the hill.
However once at the top, if it’s a clear day then you are in for an incredible view across the lakes and south to Morecambe Bay and across the Irish sea to the Isle of Man.
Stage 3
If you haven’t left somebody at Lows Water, the conditions are good and you feel energised then I thoroughly recommend heading North along the ridge to Swirl How. The walking is almost freeing after the steep uphill climb. The slope is a gentle undulation, which allows you to get your breath back and take in the stunning scenery.
Stage 4
Downhill from here! Coming off Swirl How it is rocky and slow going as you reverse scramble down the crags.
Once you reach the cross paths you can choose to head up to Whetherlem to complete the circuit. But if you’ve parked up by Walna Scar then it’s easiest to turn right and head down to Levers Water. The path does become a bit more difficult to follow as you go through bogs and get off the beaten track. But generally aim for the big bit of water down the hill.
Take a breather and enjoy Levers Water before contouring round it, crossing the dam and heading up through the rocks and back to the main path. It’s now only a couple of kilometres back to the car park.
There, you’ve done it! I’d recommend heading down to the Black Bull Pub in Coniston for a well earned pint.
We love our chickens, particularly the fresh eggs. However as they produce 6 eggs a day, even when we’re at full capacity we never need that many. So we’re proud to announce the opening of the Low Nest Farm Honesty Box.
While romantic sounding all we did was build a basic foot wooden box out of pallets, put it on top of an old chair and secured it at the end of the drive with straps (to stop it blowing over the in the wind!). Rustic, but fitting!
At the minute we have just our eggs (4 for £1), but we hope to expand our range as the seasons go on!
So next time you come to stay (or you’re just passing); remember a Pound for your eggs!
This walk takes on one of the highest mountains in England, Helvellyn, while passing a tarn hiding a golden crown and all importantly finishes in a pub!
Leg 1 – Dunmail Raise to Grisedale Tarn
After 15 minutes on the bus from Low Nest, get off at Dunmail Raise. Parking is available on the roadside, but for this route it’s best to get the bus.
This open barren land is riddled with mystique and history. The story goes that after King Dunmail, the last King of Cumberland and Strathclyde, one of his loyal servants took his crown and ran up to Grisedale tarn where he threw the gold crown into the tarn, never to be seen again. Sadly while I would like to say “until now”, if I had found this ancient gold crown I would not be typing this and instead would be halfway to my subsequently purchased Caribbean Island.
The climb is well trodden and easy to follow. You follow the roaring stream all the way up the ghyll until you reach Grisedale tarn. It’s about a mile, about 30 to 45 minutes of walking. While steep it is a good warm up for the walk ahead.
The views from the tarn alone are worth the walk, you truly feel in the centre of the Lakes.
Leg 2 – Grisedale tarn to Dollywagon
The best route up is to get to the Eastern side of the tarn and follow the path up. The path zig zags, but rarely with steps. While the height gained is around 200 metres once at the top you’re basically on the ridge.
Leg 3 – Dollywagon to Helvellyn
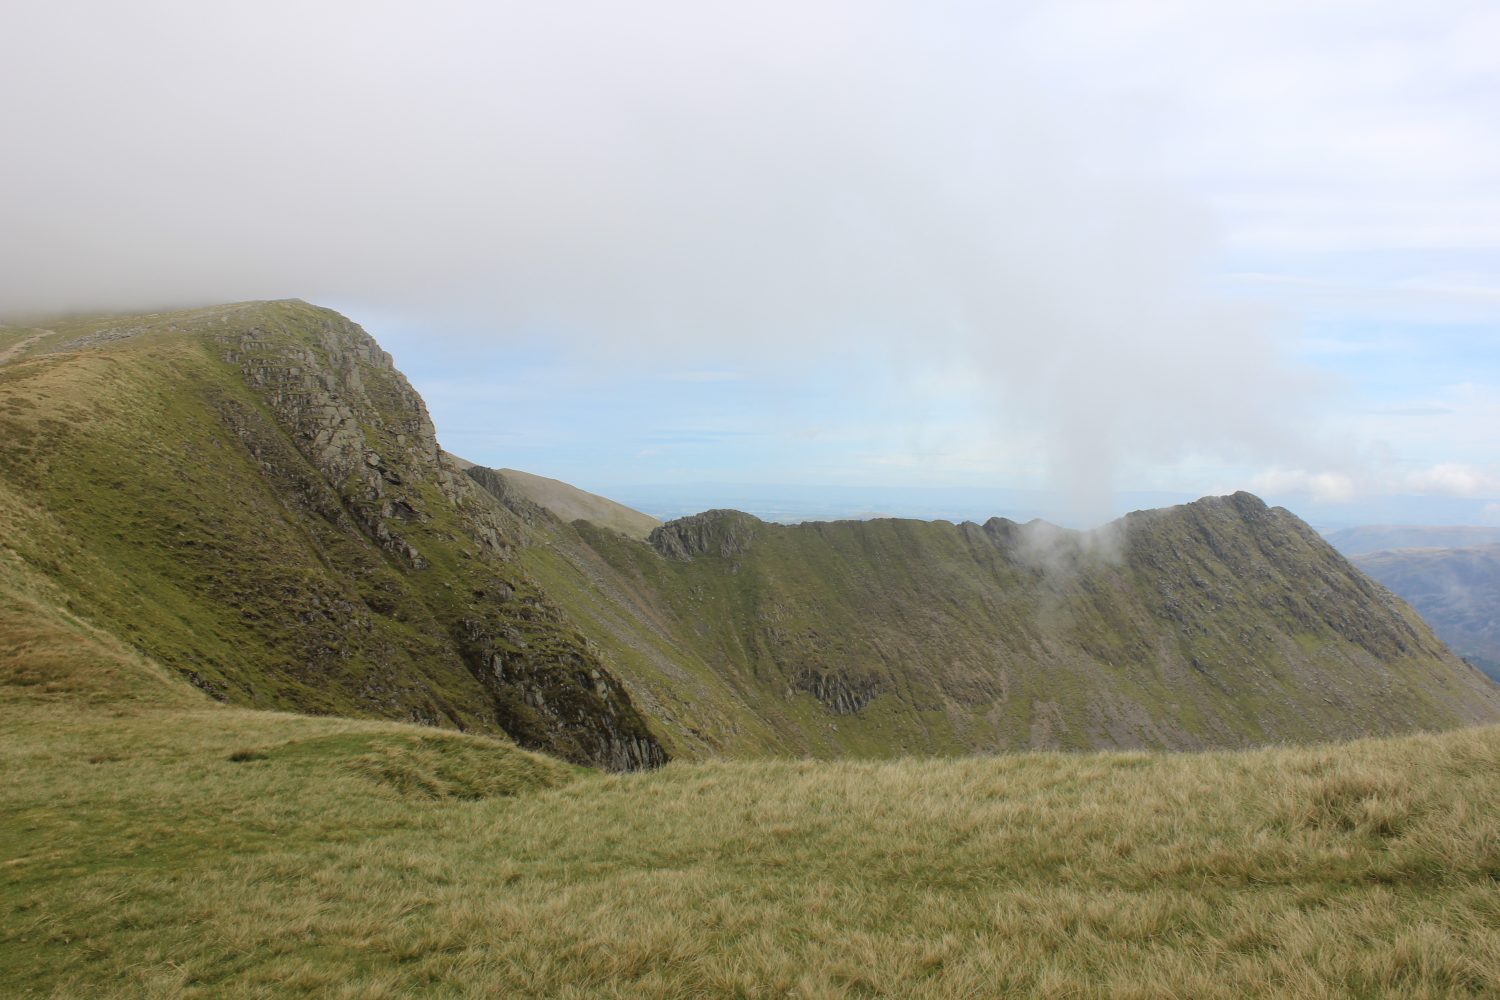
After an hour of walking up hill there is no feeling like getting on the ridge. You go from walking at a snails pace sweating a litre a minute to strolling along as if you’re on Oxford Street. However you’re not on Oxford Street, you’re somewhere far better, you’re on the Helvellyn Ridge. With clear skies you have views almost as far east as the North Sea (It feels like that anyway!), but even on cloudy days (like our one) there’s something truly beautiful about this path.
The path itself is well trodden so easy to follow. There are cairns every 20 metres at points so it’s actually quite hard, but still possible, to get lost.
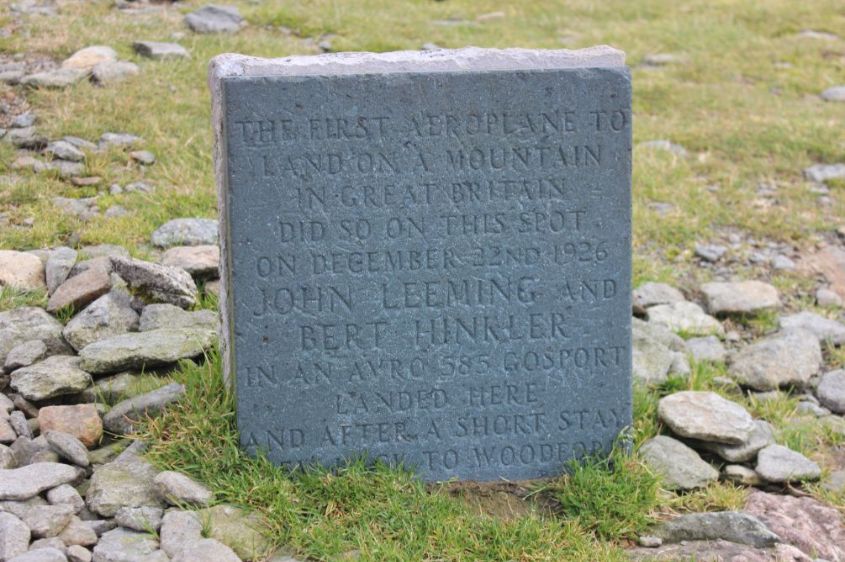
There is a small dip between Dollywagon and Helvellyn, but not a huge amount and the path up to Helvellyn is nice and gentle. As you walk up, note all the boulders strewn across the plateau. Then just as you approach the top read about how a crazy bloke who landed a plane there on December 22nd 1926. Apparently landing was easy, but to take off they had to do a James Bond Golden Eye style nose dive over the edge.
Take time to rest and enjoy the view in the cross shelter offering a welcome escape from the inevitable piercing wind from nearly all directions.
Leg 4 – Helvellyn to the Kings Head Pub
After taking the inevitable photos of Striding Edge and selfies at the trig point it’s time to head down. Like much of the walk the track down is fairly easy to find and follow, even in poor visibility. However still take compass bearings.
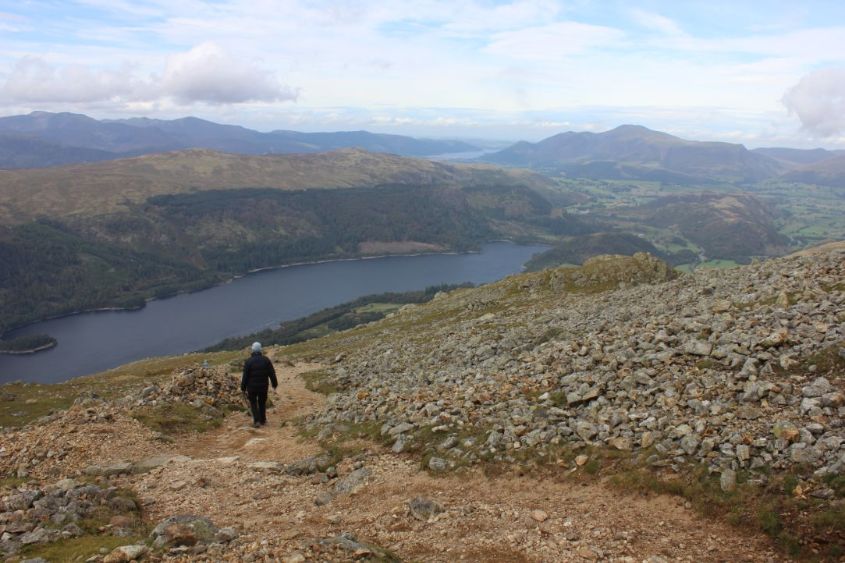
The footpath is a pretty busy one. Follow it all the way down and you’ll get to the Thirlmere carpark. It’s also one of the easiest ascents of Helvellyn. There are great views all the way down. Be sure to try and spot Low Nest!
You will have to start to keep an eye on navigation as halfway down you’ll have to escape the mob and head right. This last bit is sublime. You’re unlikely to see another person. The ferns and heather also means few if any sheep, so dogs can run around happy and free.
The Kings Head just appears from behind a crags and you can almost taste that celebratory drink! It’s a great traditional Lakeland Pub and the perfect place to finish the walk.
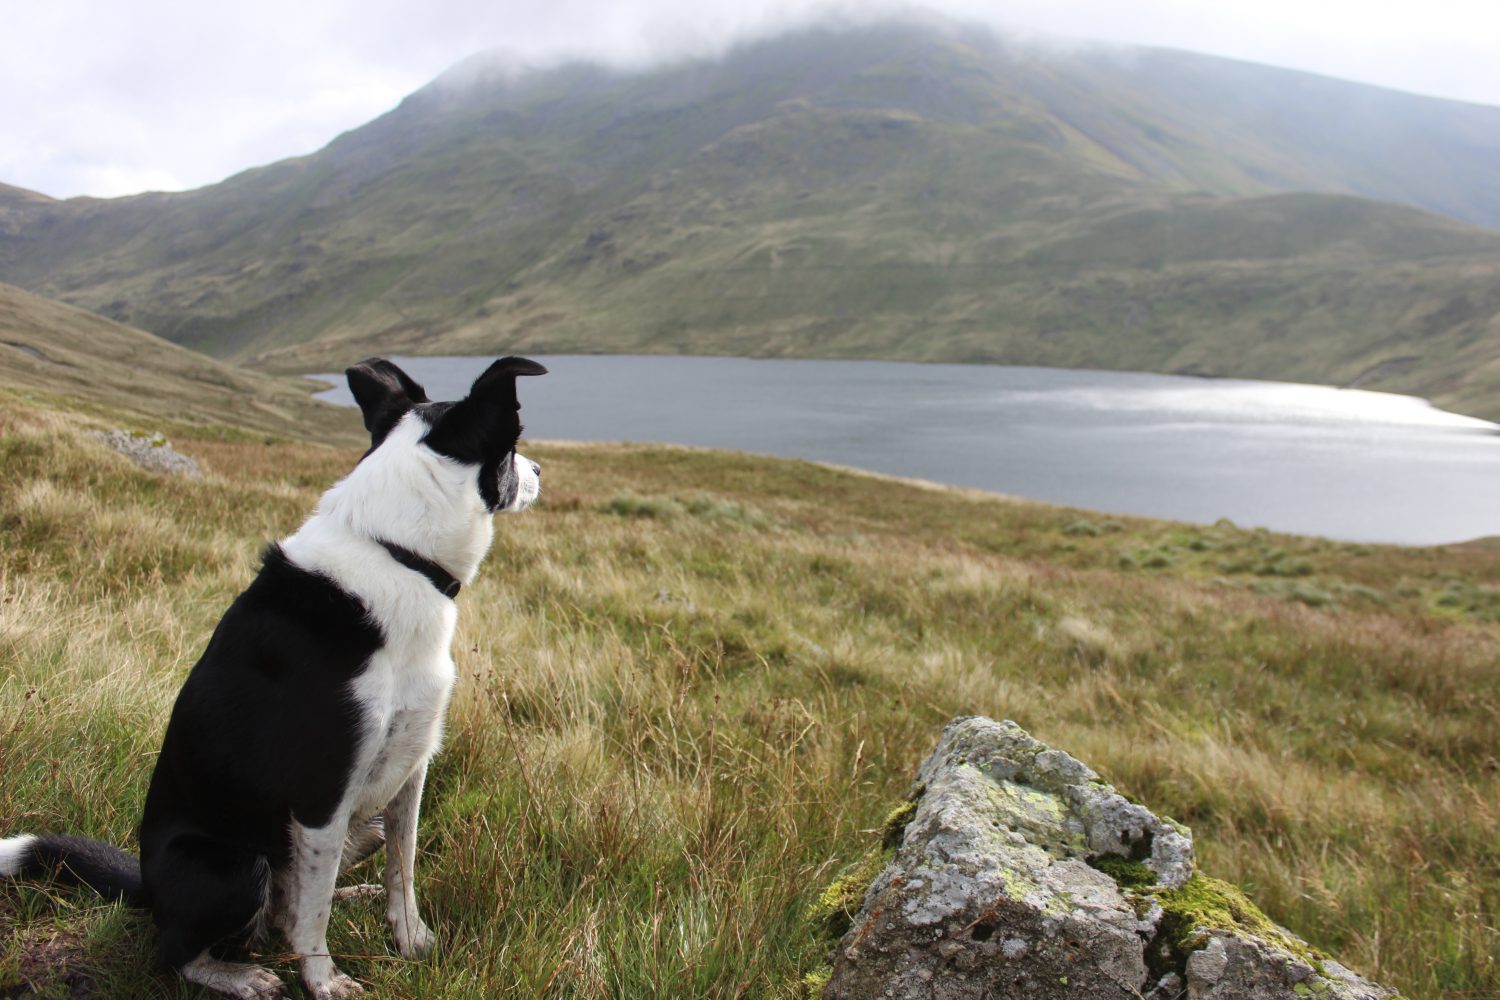
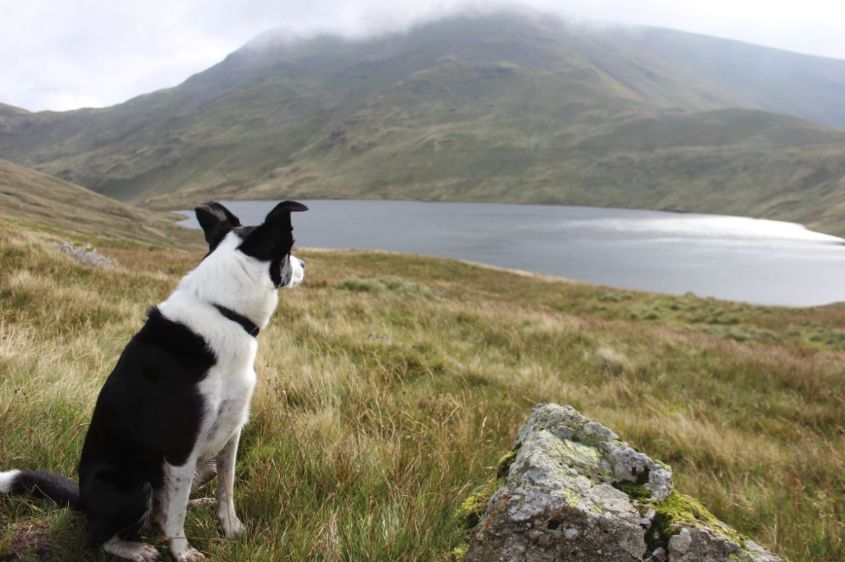
Grisedale tarn
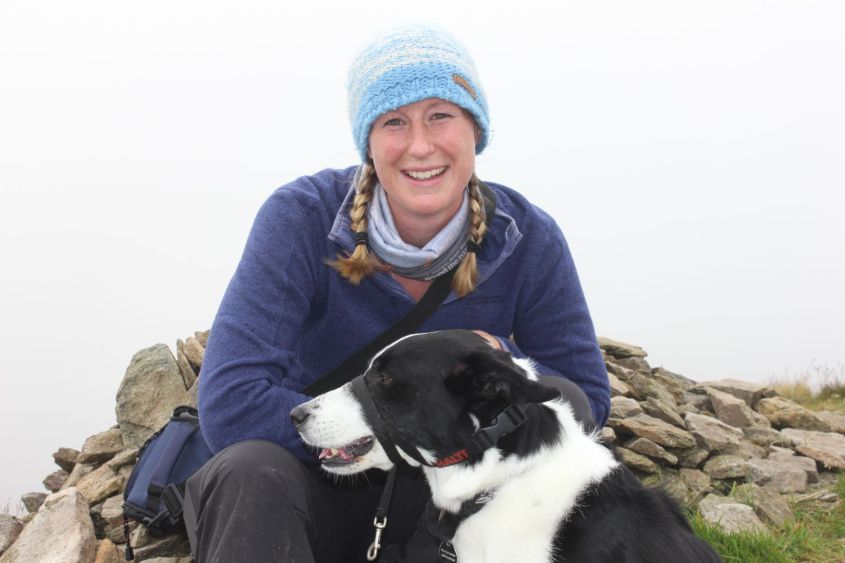
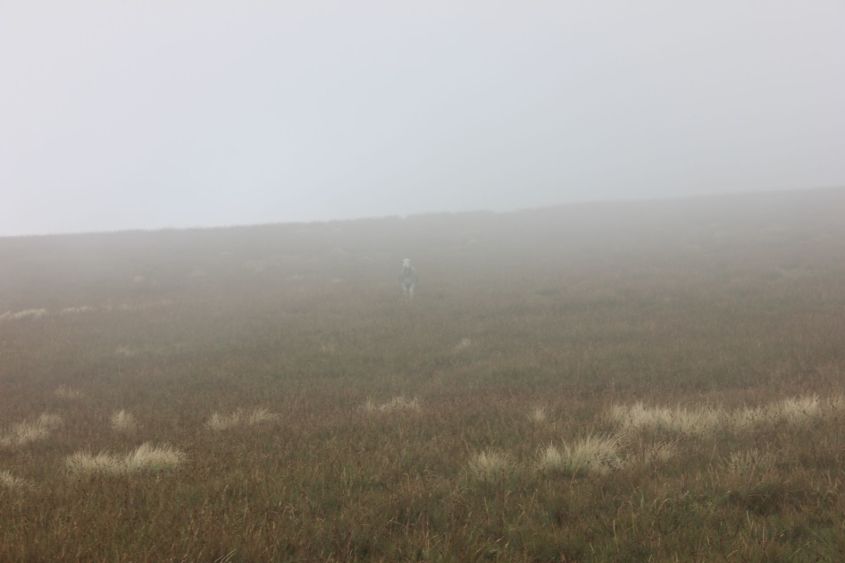
Heather enjoying the walk
Dollywagon Cairn
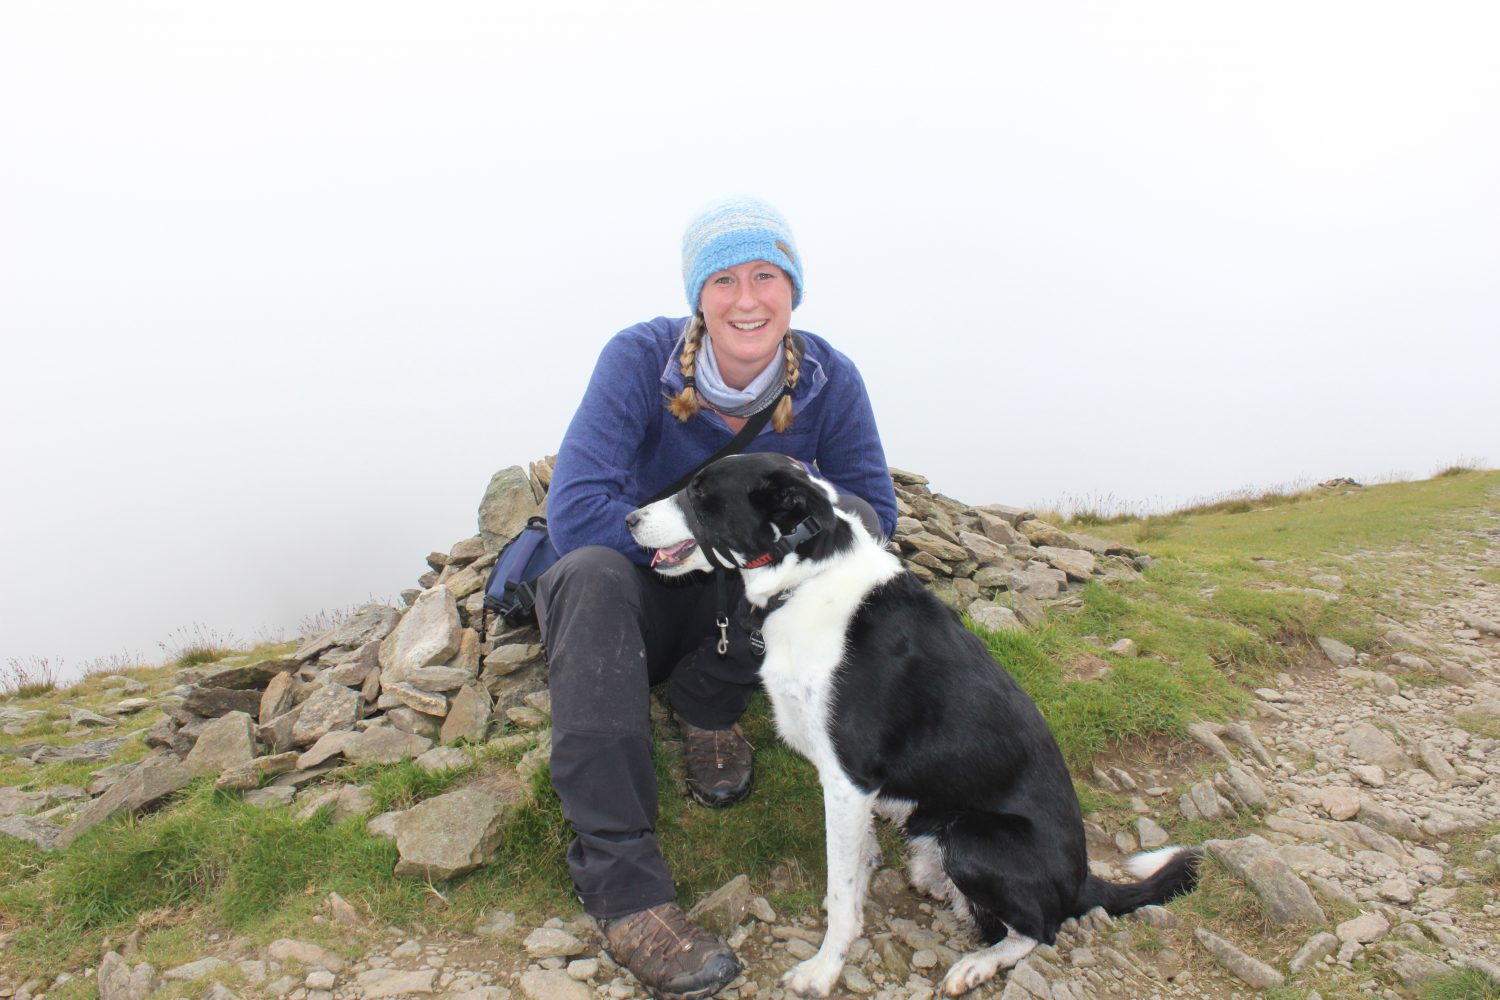
We made it up Dollywagon!
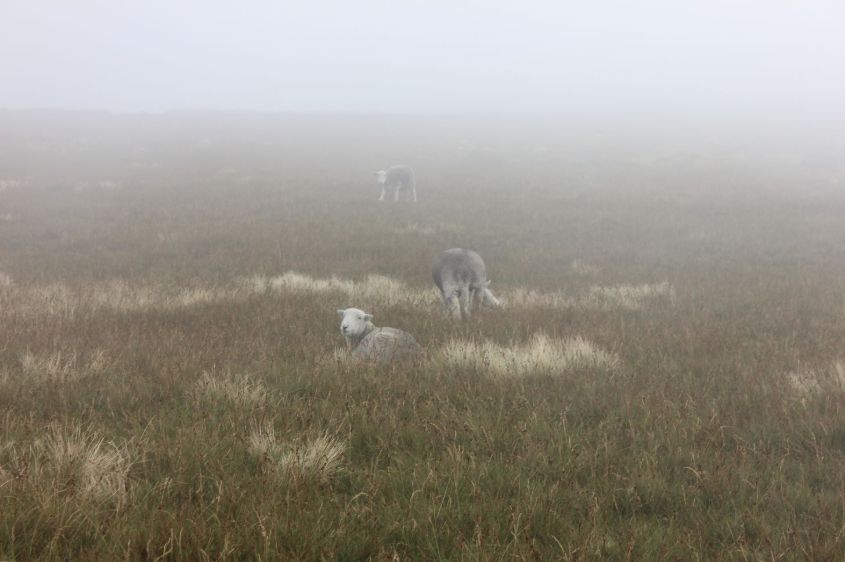
Spot the sheep
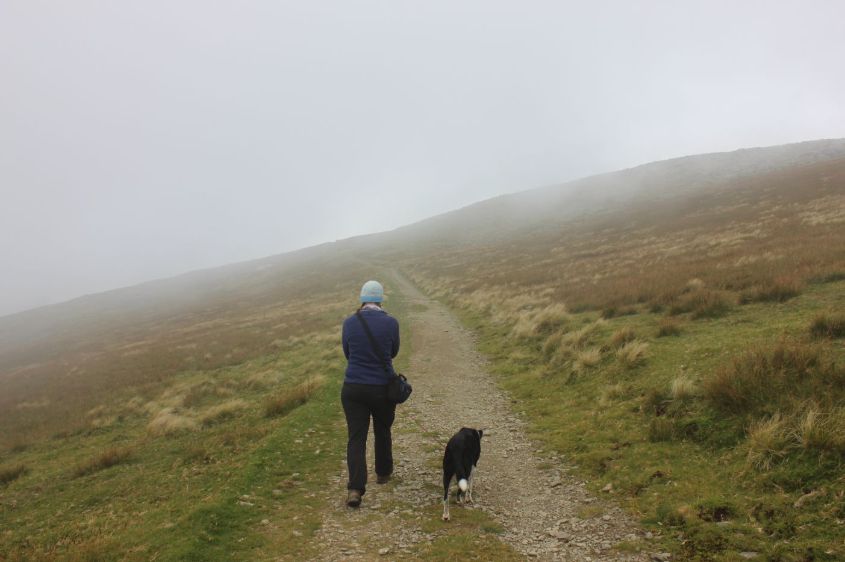
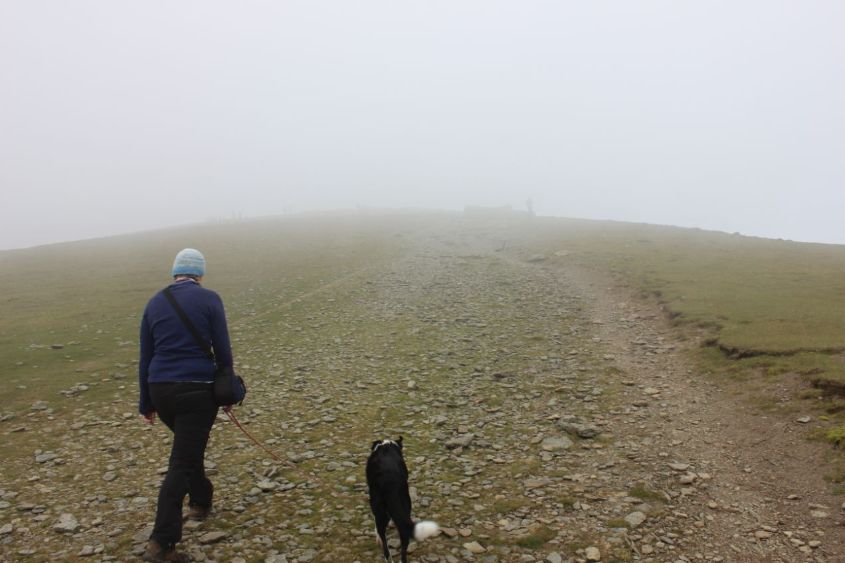
Track along Dollywagon
The hardy Herdwick
Striding edge
The Hellvelyn shelter appears out of the mist
Who would think to fly a plane to Helvellyn?!
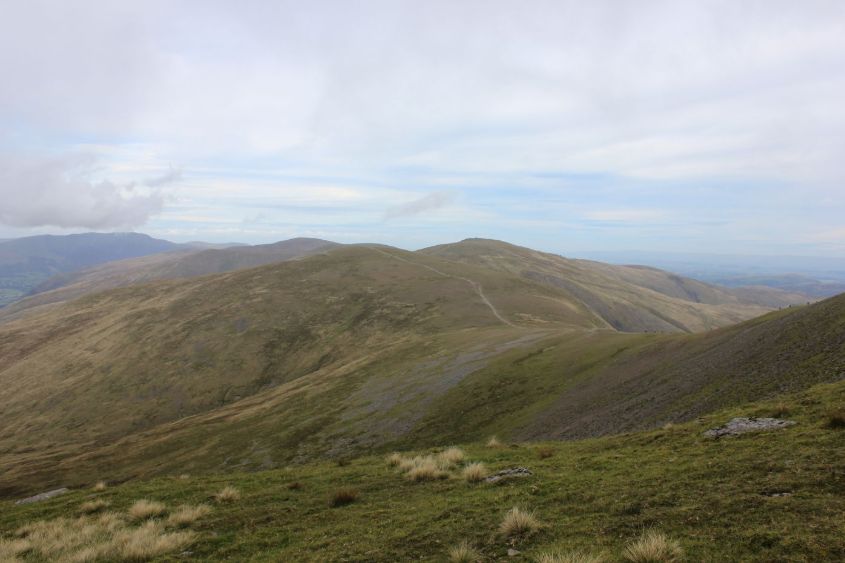
White Side, Raise and Stybarrow
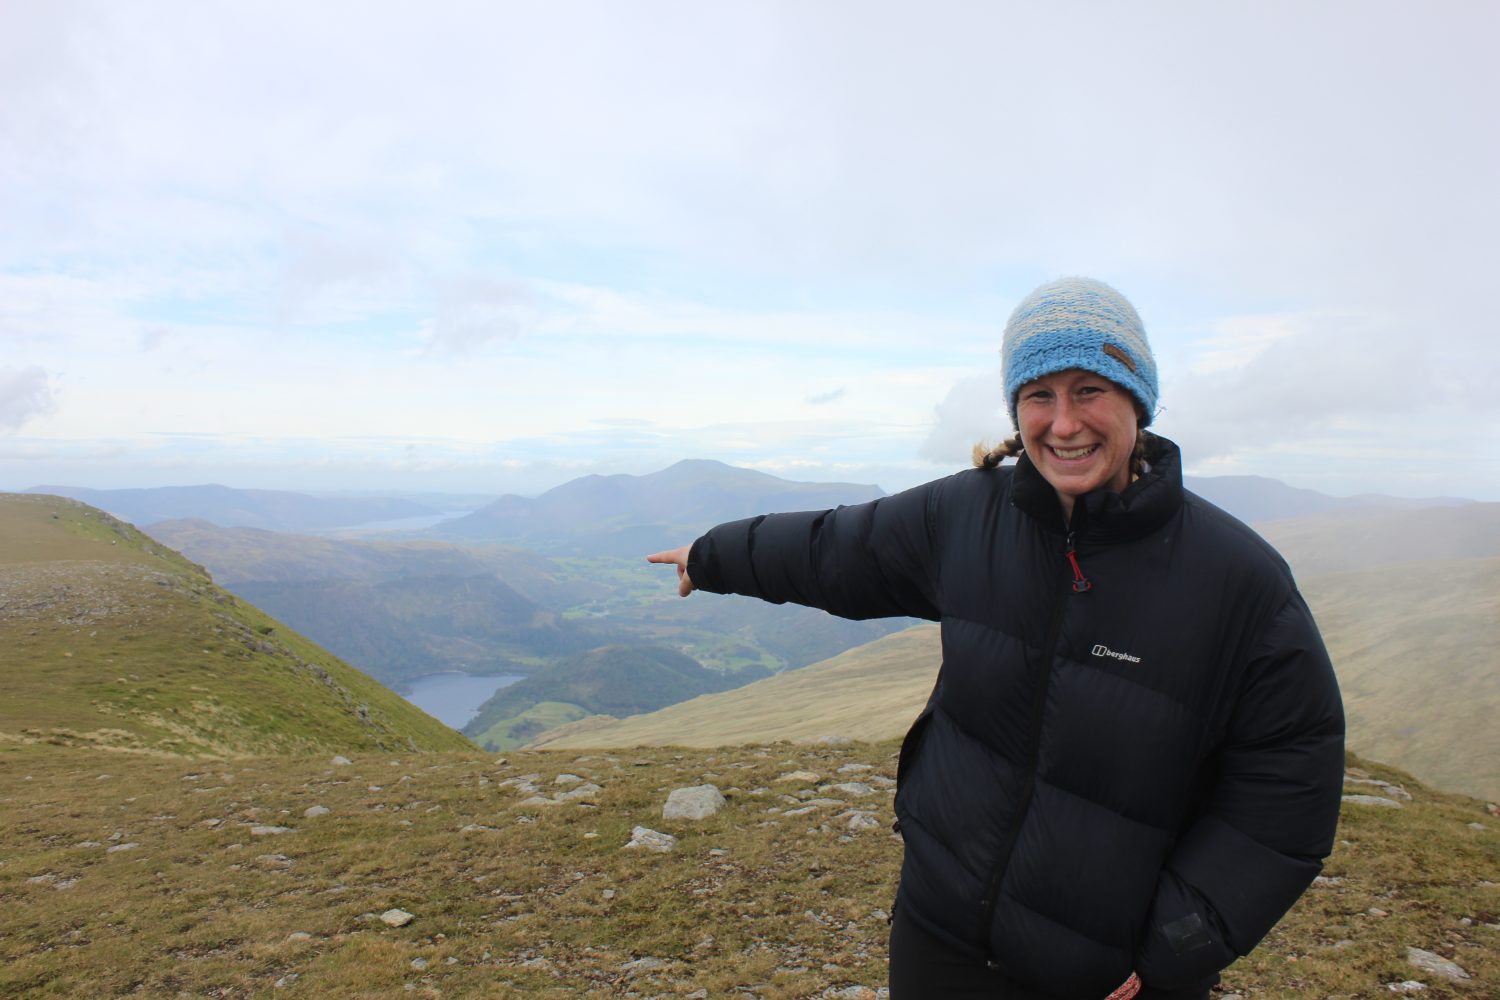
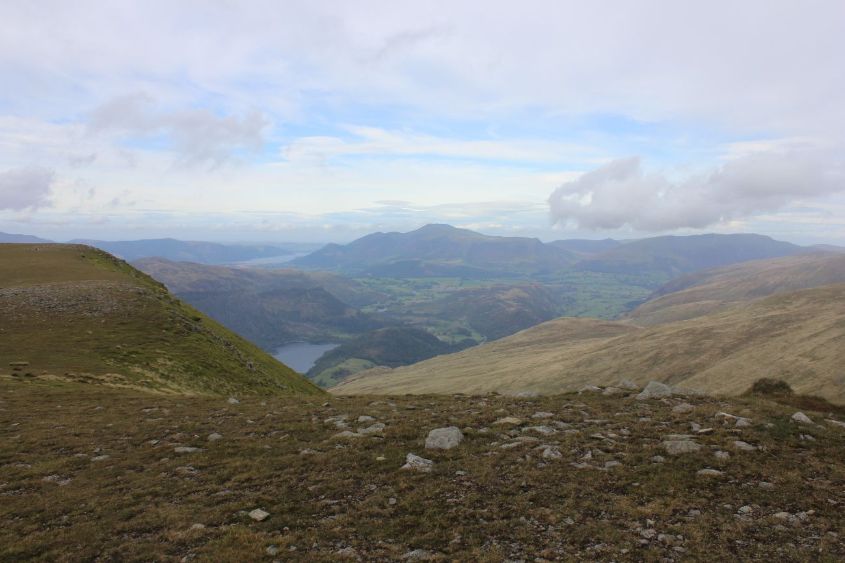
Can you spot Low Nest?
Oor Hoose fre Helvellyn
Blencathra and Skiddaw from Helvellyn (Low Nest just in view)
Ignoring the southern accent I am a proud Kendalian, of Scottish descent. While at school I always remember a friend of mine messing about. When asked what she was doing she replied “Nowt”, only to receive a swift sharp reply of “What?!”.
Dialect levelling is the process of eradicating regional dialects and for the past 50 years it’s been fairly proficient. However over recent years there has been a surge as Cumbrians scramble to retain our culture and heritage, primarily as we prepare to follow Scotland in it’s ultimate devolution and we set up the independent nation of Cumbria where we not only allow Cumbrian to be spoken but will be reviving the ancient language of Cumbric. If you’re reading this in 2029; Blaen Cwm.
Let us also not shy around the fact that Cumbrian words on tea towels sell very well. So that might be helping the resurgence. Whether the Cumbrian dialect renaissance is financially or pride driven we wanted to help boost the profile of the more commonly used phrases still spoken by locals around cumbria.
When researching this blog what I found interesting was the number of words I used to regularly use and came to realise how unique some sayings are. While below is a large list below I’ve compiled my a collection of common words. I also found, while researching, that I am following in many footsteps including that of Anthony (Angela and Alisons brother). You can read his post on the LowNestFarm.co.uk site.
Common Cumbrian Words
Nowt
La’al
How’doo
Be reet
Canna
Kaylied
Bog
Dookers
Chunder
Clowt
Gander
Kecks
Lob
Whaarm
Yow
General Words
Aye – Yes Thou’s – Yours Thee/Thou – you (singular) Yat Gate Wherst – Where is the Djarn – Doing (as in ‘whut yer djarn? – what are you doing?) Divn’t – Don’t (as in ‘divn’t do that, lad’) How’doo – How are you doing? (strain of ‘How do?’) Canna – Can’t (as in ‘ye canna djur that!’ – ‘You can’t do that!’) Djur – Do Frae – From Yon – That (when referring to a noun which is visible at the time) Reet – Right (H)arreet – All right? (Greeting) Be reet – It’ll be all right Nae – No Yonder – Over there (as in ‘ower yonder’) Owt – Anything (got owt? – got anything?) Nowt – Nothing (owt for nowt – something for nothing) Bevvie – Drink (alcoholic) Eh? – What/ isn’t it? (thats good eh?) Yan – One
Adjectives
Kaylied – Intoxicated La’al – Small Slape – Slippery or smooth as in slape back collie, a border collie with short wiry hair Yon – Used when indicating a place or object that is usually in sight but far away. abbreviation of yonder.
Nouns
Bairn – Baby Bait – Packed meal that is carried to work Bog– Toilet (as garn’t bog / I’m going to the toilet)
Britches – Trousers Cack – Faeces (just off for a cack) Clout – Punch or hit “aas gonna clout thou yan”(im going to punch you one) Craic – Gossip “ow marra get some better crack” Dookers – Swimming trunks
Ginnel – A narrow passage Kecks – trousers/pants or underpants Marra – Friend Offcomer – Non-native Cumbrian Peeve – Drink (alcoholic) Scran – Food Skemmy or skem – Beer Watter – Water Wuk – Work, as in: as garn t’wuk (I’m going to work) Yam – Home, as in: as garn yam (I’m going home) Yow – Ewe, female sheep Yakka – Farmer
Verbs
Bowk – Retch (as in before vomiting) Bray – Beat (as in beat up someone) Bubble – Cry Chess – Chase Chunder – Vomit Clarten – Messing about Clout/cluwt – Hit “al clout ya yan” Doss – Idle or skive. To mess about and avoid work Fettle – To fix or mend. (“as i’ bad fettle” – I’m not very well) Gander – Look Gar/gaa – Go Gan – Going to somewhere Git – Go (“gar on, git yam” / go on, go home) Yit – Yet (“ars nut garn yam yit” / i’m not going home yet) Garn/gaan – Going Hoik – To pick at or gouge out Lob – Throw Laik – Play Lowp – Jump Yuk – To throw Scower – Look at Sow – Sexual intercourse Skit – Make fun of Twat – Hit someone (“I twatted him in the face”) Twine – To whine or complain Whisht – One word command to be quiet Wukn – Working Whaarm – Warm. “It’s affy wharm” (It’s awfully warm)
Snuggled in the Northern Lake District fells we offer our own little Lakeland escape with 3 beautiful and spacious dog friendly studio apartments. Offering self catering accommodation and stunning views across one of the Lakes most majestic valleys
We use cookies to ensure that we give you the best experience on our website. If you continue to use this site we will assume that you are happy with it.OkPrivacy policy